

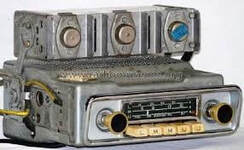
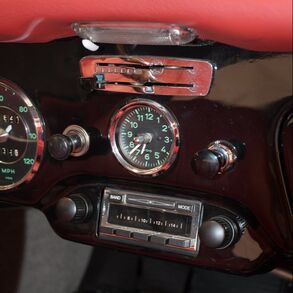
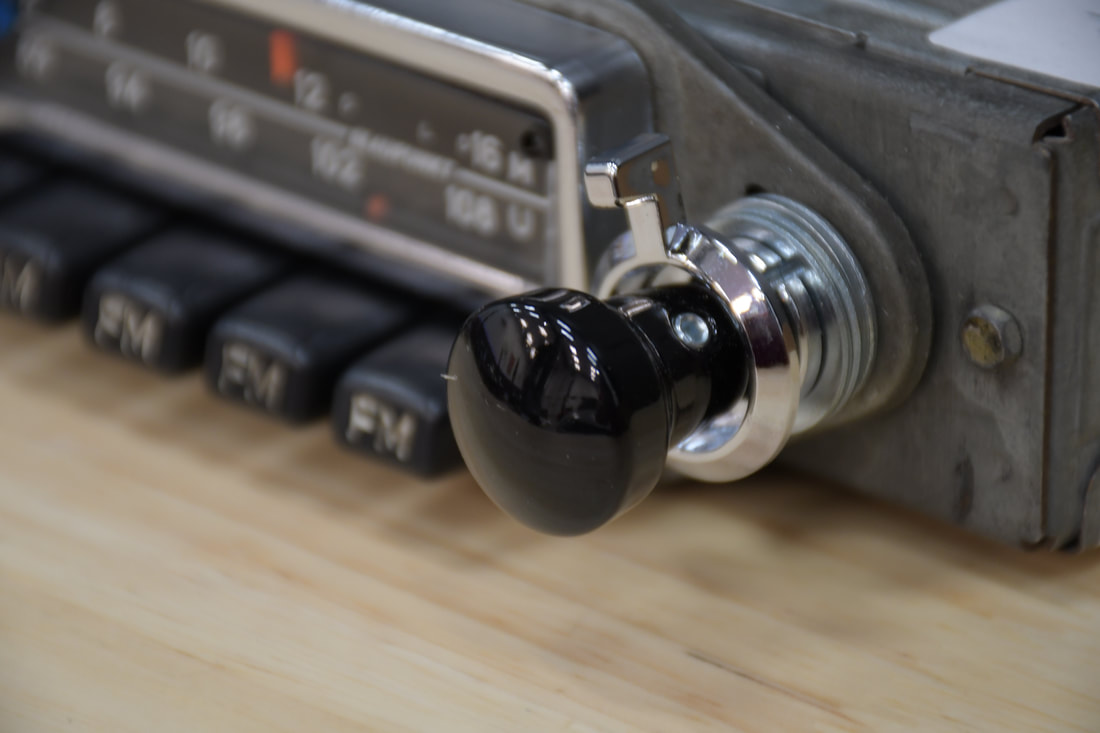
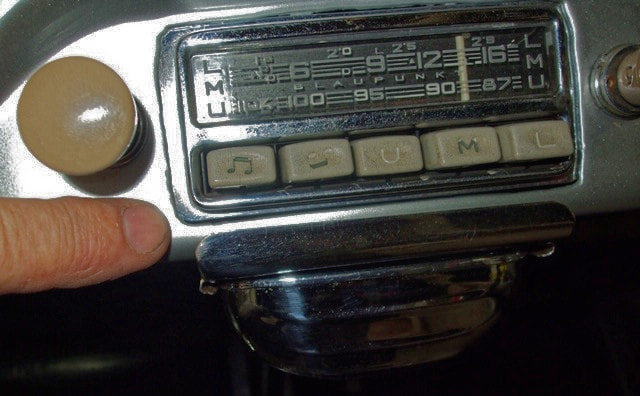
 Figure 2. Example of original Blaupunkt Frankfurt, with valve/tube technology Figure 2. Example of original Blaupunkt Frankfurt, with valve/tube technology But this is obsolete technology, with poor audio and connectivity. Were this a concours level show car, I would likely put one in for the correct look. But for this car, still a beautiful example, I’d like something that looks close to correct, but can be modified for Bluetooth streaming. 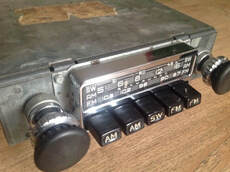 Figure 3. Blaupunkt Frankfurt transistor radio. Faulty on/off switches make these a risky choice. Figure 3. Blaupunkt Frankfurt transistor radio. Faulty on/off switches make these a risky choice. Transistor models are preferred for adding Bluetooth and for overall reliability. Of the transistor models, the Blaupunkt Frankfurt W, X, and Z, Y series are closer to the correct model, but these were developed during the early transistor period and have reliability and connectivity issues. Some have faulty on/off switches that cannot be repaired once they fail. 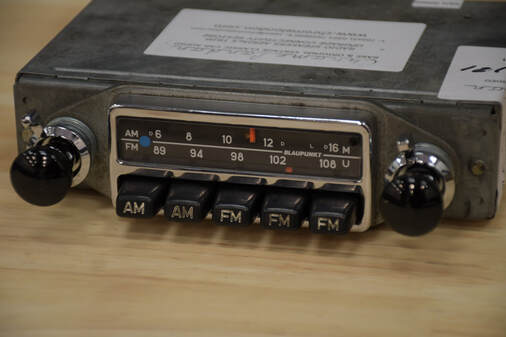 Figure 4. Blaupunkt Frankfurt available from 1968 to 1972, restored and ready to install. Figure 4. Blaupunkt Frankfurt available from 1968 to 1972, restored and ready to install. If you’ve read my site, you understand that while I strive for “correct” components, in some instances (safety and driveability) I will sacrifice correct components for usability. This is one of those cases. So I went with a Blaupunkt Frankfurt that was available, essentially unchanged, from 1968 until 1972. The radio, along with integrated Bluetooth, voltage converter, and expert guidance, was provided by one of the Friends of Refresche, ChromeLondon. A couple of comments. The knobs and chrome are new, but correct for the radio. The buttons are original. I had the choice of original or reproduction. In a choice between original and reproduction, I’ll always go for original. The aging white paint in the button insets cannot be cleaned or replaced. It is what it is. But it adds a nice bit of patina. Notice how clean the dial is as well. This is a nice example.
Fitment is a potential issue with these old cars. From time to time over the years, owners may enlarge the radio cutout to accommodate new radios, or attempt their own cutout for the correct size unit, resulting in jagged edges and imprecise cutouts, or cutouts so large that the radio doesn’t fit right. Several aftermarket companies, like Stoddard and Pelican Parts (Friends of Refresche), offer faceplates to deal with this issue.
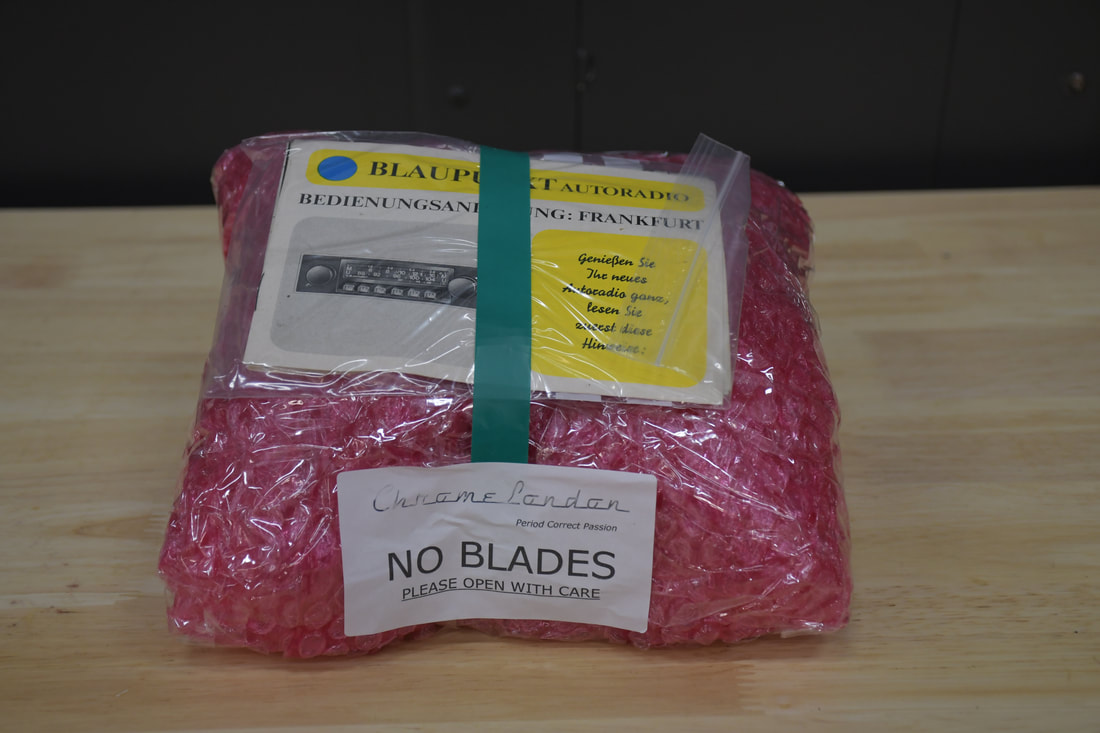
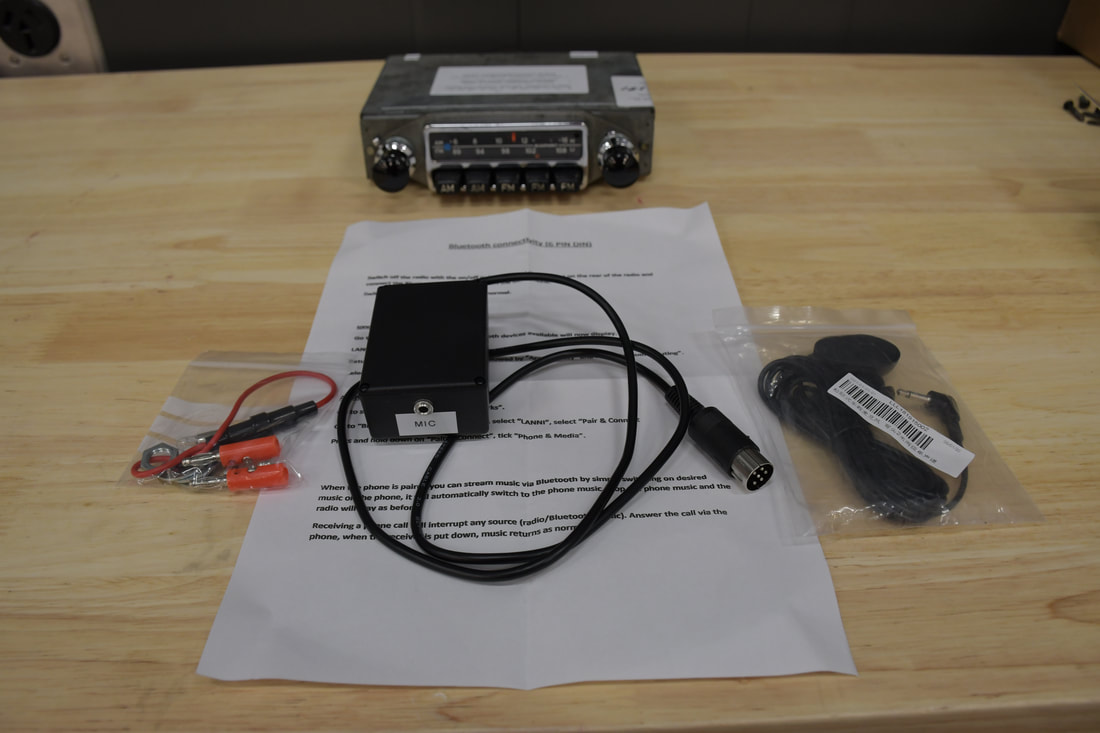
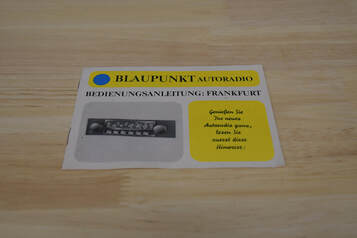
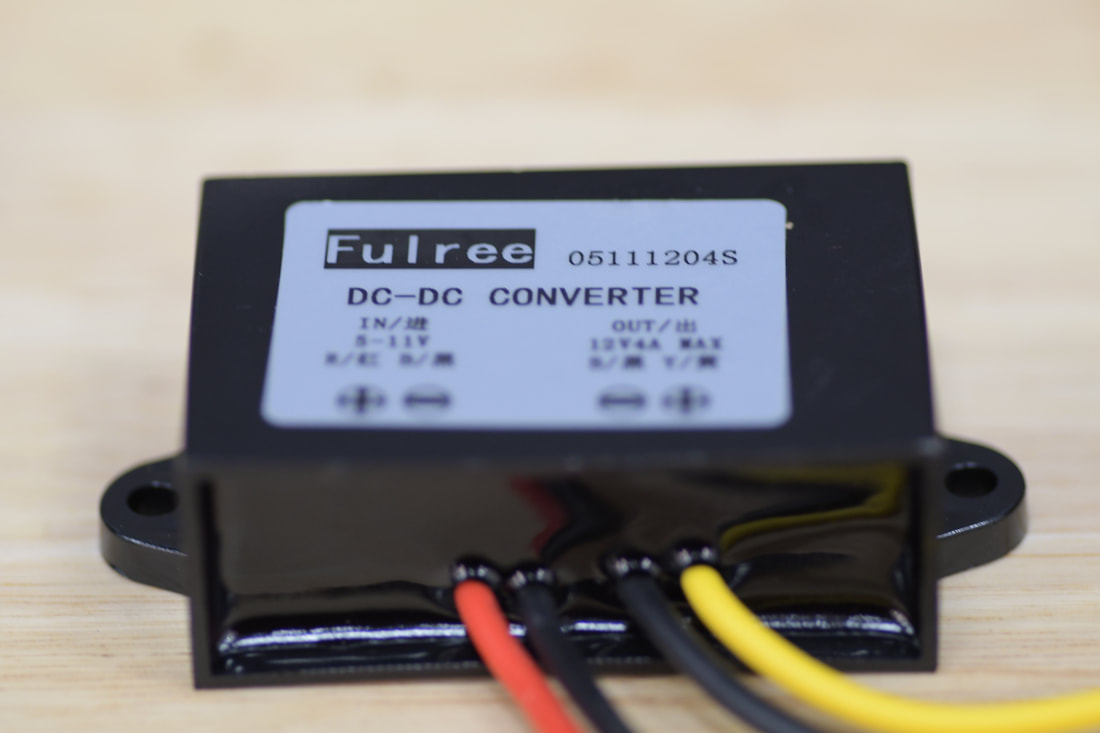
The next few photos show the package as received, and the bits and pieces that came with the package. The package was well-protected for the trip across the pond. The radio, fuse, Bluetooth module, microphone, period-correct documentation, and voltage converter were included. Since my 356 still runs on 6 volts, I needed the voltage converter to step up to the radio’s required 12 volts. If your car runs on 12 volts, you won’t need it.
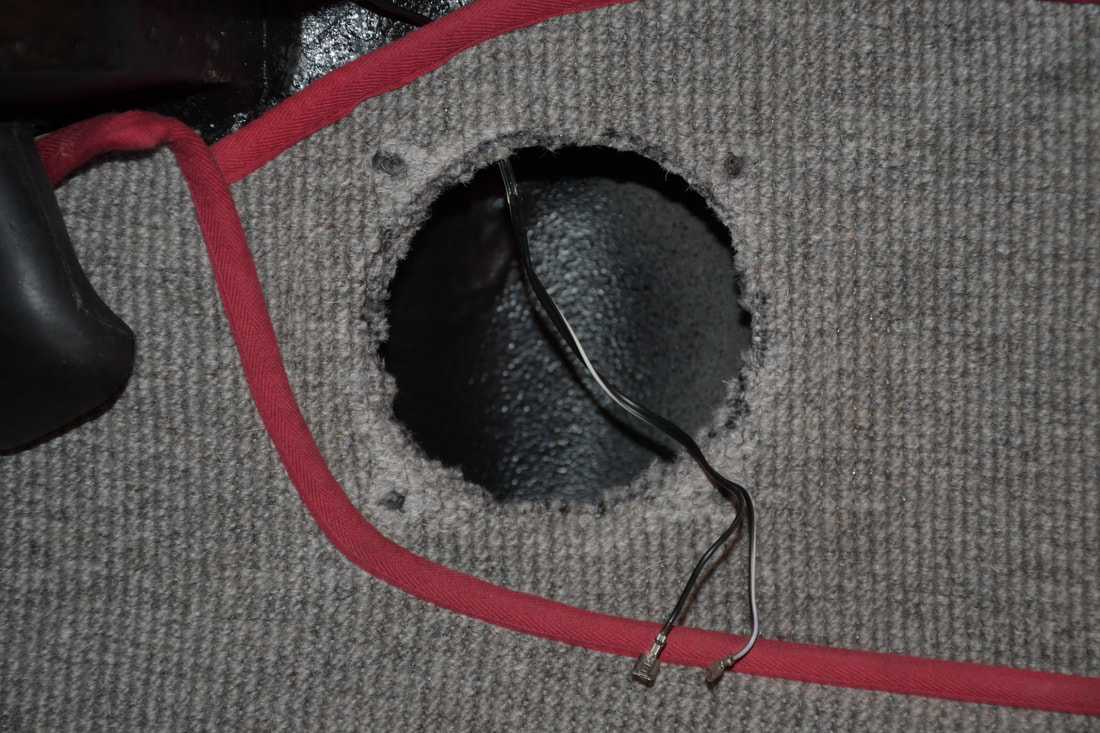
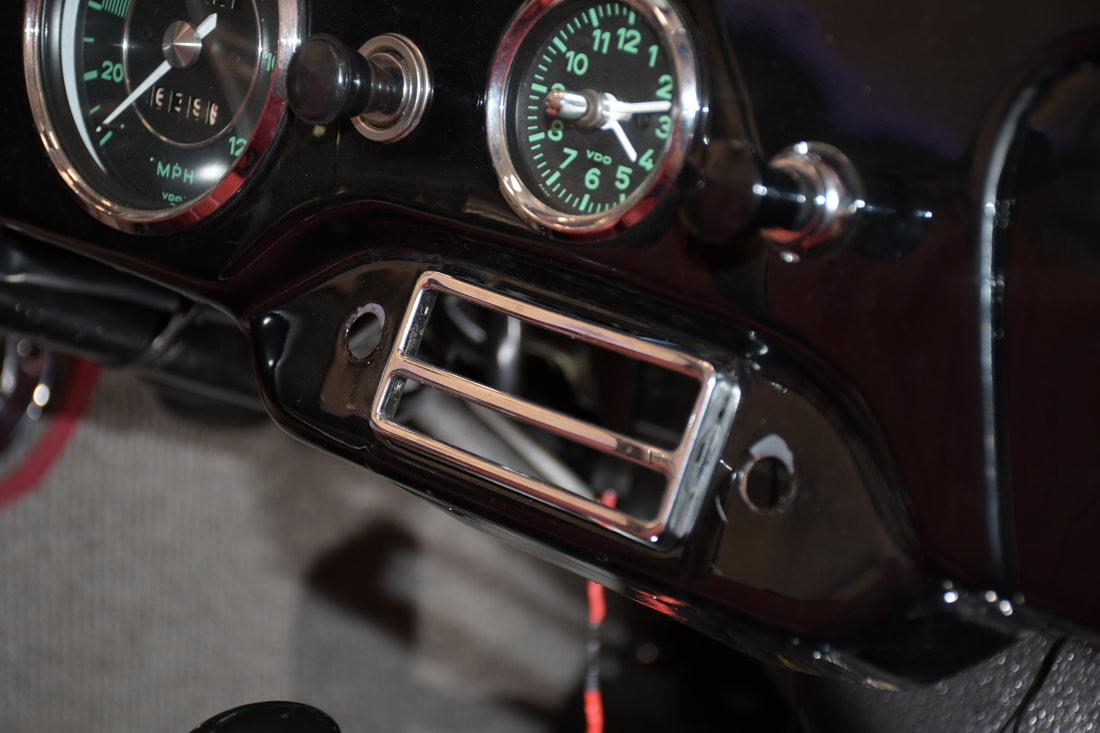
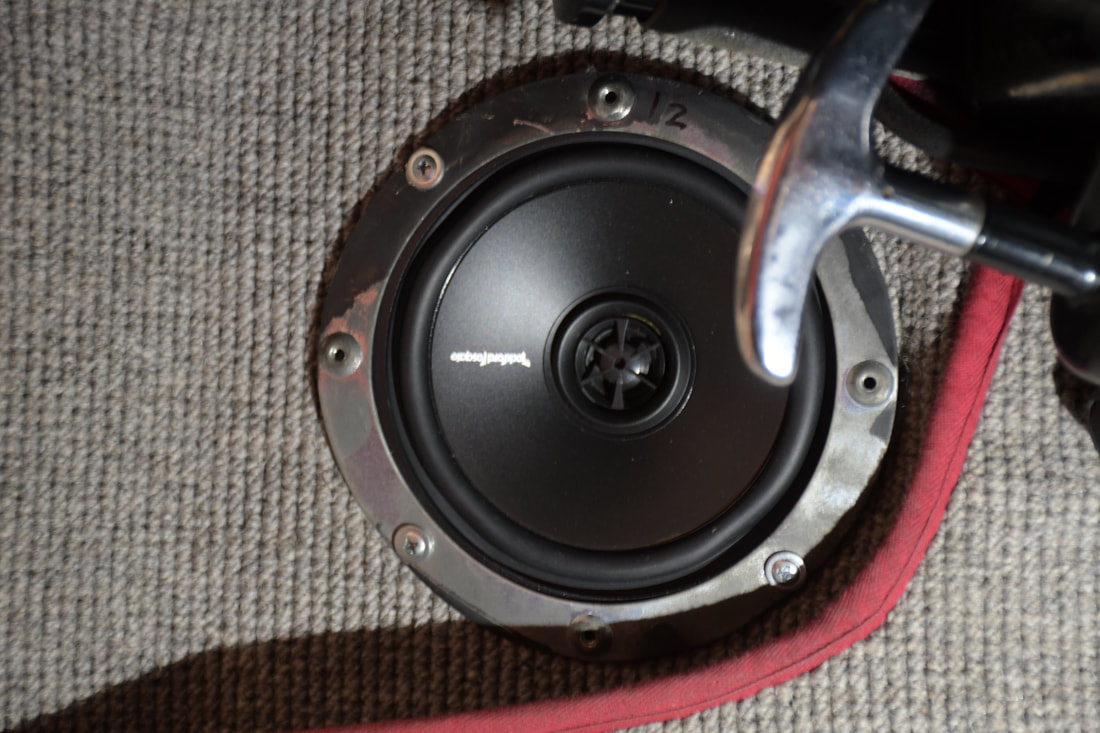
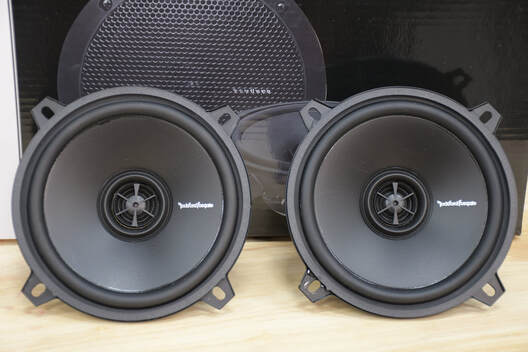 Figure 13. Rockford Fosgate R1525X2 Prime 5.25 inch speakers. Figure 13. Rockford Fosgate R1525X2 Prime 5.25 inch speakers. Another critical choice is speaker selection. Most speakers these days are capable of handling very high power input – in the hundreds of watts. These speakers also require more power to drive. Old radios such as this Blaupunkt only output a few watts (confirm how many). Because sound level is variable (think of a relatively low sound level of violins in a symphony, followed by a sudden burst of percussion and horns), speakers are specified in watts RMS (Root Mean Square) and peak rating in watts. RMS is sort of an average. It refers to the level of continuous power the speaker can handle. Peak rating refers to the power the speaker can handle in a burst. Connecting very high RMS speakers to a low output amplifier won’t sound good because the amplifier won’t be able to drive the speakers. It’s better to overpower a speaker than to under power it. Efficiency, or how well a speaker uses power, is something to look at as well. For this application, you’ll want a high efficiency speaker – some recommend 90 dB and higher. So a low RMS and low peak wattage, with high efficiency, speaker is needed for this application. But they’re getting hard to find. Also note that the radio is mono, not stereo, so the same signal will go through both speakers. I demoed three pairs of speakers and settled on the Rockford Fosgate R1525X2 Prime 5.25 inch speakers. Note that this is not a high power, high fidelity system, so speaker choice was based on overall sound to my ear, and volume reached before distortion. These speakers have the following specifications: RMS ranging from 2 (min) to 40 (max) watts, peak rating of 80 watts and sensitivity around 88 dB. I found the others I demoed to have a tinny sounding tweeter which was annoying to my ear. Note that you won’t get much base in a 5.25 inch speaker. It’s just too small to produce low frequencies (below about 60 Hz). 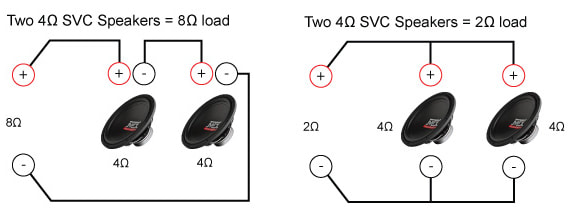 Two, 4-Ohm speakers connected in series (first) and parallel (second). Note the effect on total impedance. Two Ohms is too low for the radio, so I need to wire the speakers in parallel. Two, 4-Ohm speakers connected in series (first) and parallel (second). Note the effect on total impedance. Two Ohms is too low for the radio, so I need to wire the speakers in parallel. Speaker impedance is another issue to consider. Think of impedance of the speaker or speakers (if more than one) as resistance. The lower the resistance of a speaker, the more amplifier current is required to drive the speaker at a given volume. If the speaker’s impedance is below the lowest recommended impedance, the amplifier could fail. In this case, the radio’s impedance is 4 Ohms. The speaker is rated at 4 Ohms. But I’m using two, connected to a single amplifier, so I’ll need to account for that. I could connect the speakers in series, or in parallel. If I connect them in series, their total impedance will be 8 Ohms. If I connect them in parallel, their total impedance will be 2 Ohms. As mentioned, as the impedance drops, the current required to drive the speakers goes up (Ohm's law). Either way, I can’t match the amplifier’s impedance. But I don’t want to drop below the radio’s 4 Ohm impedance, so I will most likely wire them in series. I’ll bench test the setup first. 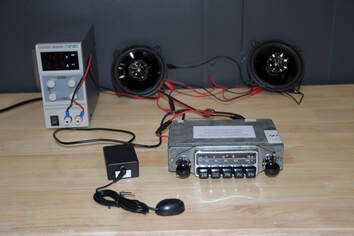 Figure 14. Bench test setup. Figure 14. Bench test setup. Bench tests are essential in making sure the system will work as expected, in selecting speakers, and in choosing the wiring configuration. The photo below shows the radio, Bluetooth unit, microphone, speakers and power supply. Ideally, one would want to mount the speakers in an enclosure to get better sound, but for relative comparisons, I just left them out and used my ears to extrapolate what they’d sound like in the car. The system worked as expected and I confirmed that wiring the speakers in series will produce better sound and protect the radio from failing. 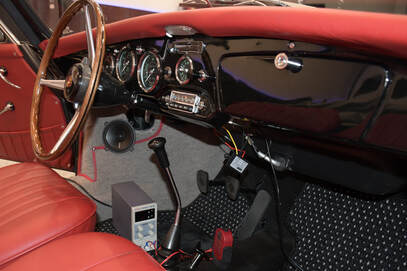 Figure 15. In-situ test setup. Figure 15. In-situ test setup. Having been burned by expectations in the past, I decided to do an in-situ test as well. What’s an in-situ test? The literal translation is “in the situation,” meaning test it in the car, as it will be installed. The test helped me work out the series wiring configuration. The installation was straightforward, with lots of room in the area where the radio mounts. The photos below show the passenger side speaker cutout, and the radio cutout in the dashboard, with the chrome trim installed. The speaker wires are a little thin for my preferences, but since they were already installed and in good shape, I decided to use them. The chrome trim took a little work to install because the fit was tight. The chipped paint around the knob cutouts will be hidden once the knobs are installed.
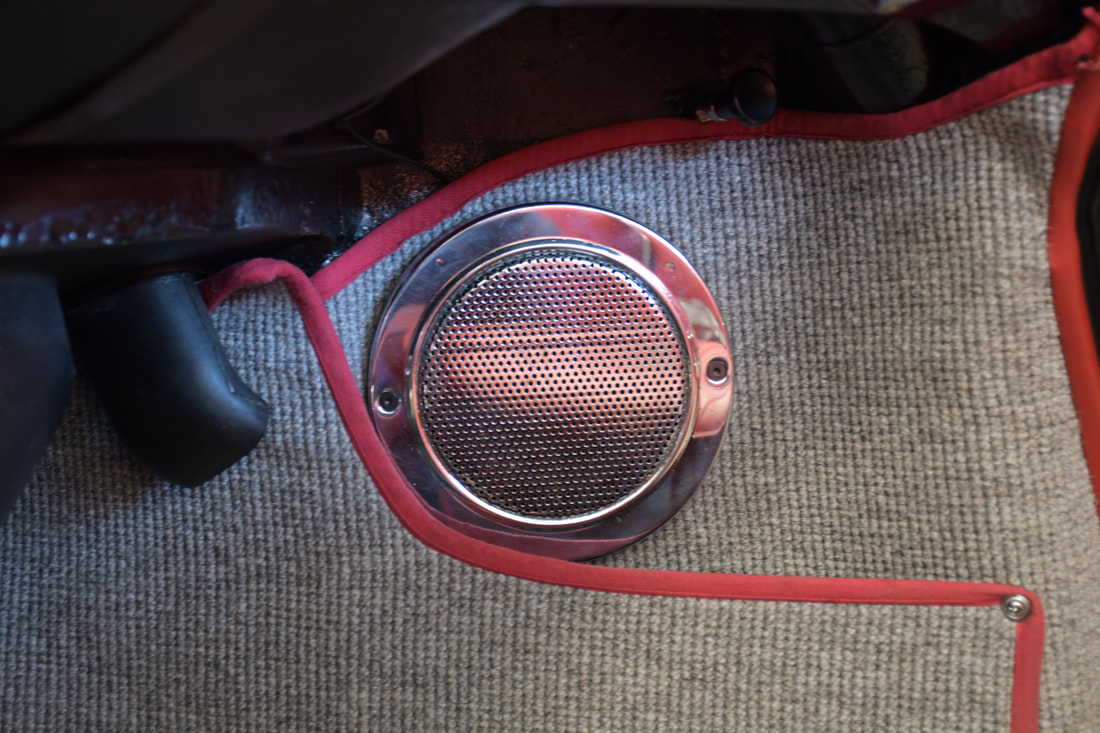
The complete speaker is shown below. The speaker required a mounting ring to allow mounting of the speaker cover.
The completed installation is shown below. It’s a very nice look. The Bluetooth streaming and the phone call features work very well. Overall, I’m very happy with the final result. It was easy to install and works as promised. It was a nice improvement to the car, integrating modern Bluetooth streaming with (nearly) period-correct technology.  Figure 21. The complete radio and speakers, installed.
1 Comment
|
AuthorHi. I'm Eric Kelner. I restore, modify, collect and, most importantly, drive Porsches. One of my friends has a t-shirt that says: I'm pretty sure my last words will be "Oh sh#%, that didn't work!" These are writings about my experiences restoring, modifying, maintaining and enjoying Porsches. Feel free to comment.
|
 RSS Feed